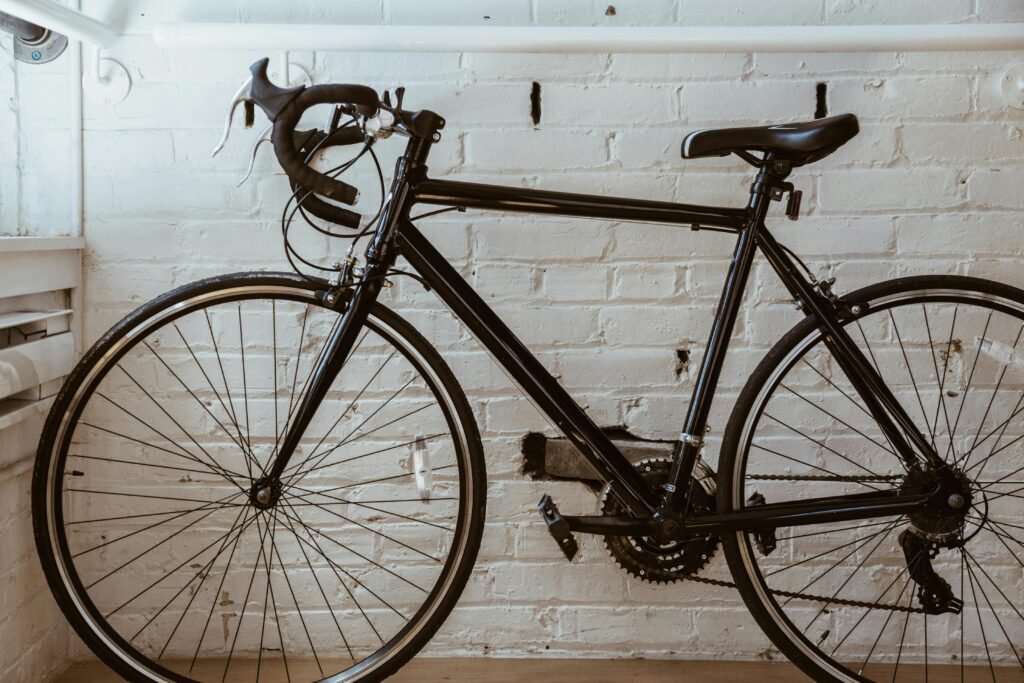
Welcome to PEDALSTORIES! In this article, I am going to tell you how to replace rim brake pads, which is a simple but essential job to know how to do because, you know, long live the rim brake!
First things first, how do you know if your rim brake pads need to be replaced? Well, you need to take a closer look at both the front and the back, the left and the right, looking at the friction material, which is this part in here, to see if it’s worn thinner than a few millimeters thick. Most brake pads will also have a wear light indicator printed on them to help make life a little bit simpler.
Almost all brake pads fitted to bikes are going to be similar to what is on this bike, which means they’re using a cartridge style. That means you’re only replacing the friction material, and the main body and the pad holder stay attached to the bike, making replacing them super simple.
So, what are you going to need to do this job? Well, you’re going to need to put your bike in a work stand, not crucial but it is pretty helpful. You’re also going to need a two-millimeter hex wrench and a clean cloth, as well as some new brake pads.
First thing to do is remove the wheels from your bike. This makes accessing everything a little bit easier. Then, once you’ve set the wheels to the side, you can take your two-millimeter hex wrench and undo the small little grub screw located on the pad holder. Sometimes these can be seized in place, so it’s good practice to undo them carefully and remove them all the way. That way you can set it to one side and apply a little dab of grease onto the threads or a little bit of oil. Hopefully, in the future, when you come to replace your brake pads again, these little screws won’t be seized in place.
With the grub screws removed and set safely to one side, you can now go to push the brake pad friction material out of the brake pad holders. Sometimes this can be a little bit tough, but pushing them with your hands is usually enough. However, to save damage to your thumbs and make life a bit easier, you can always put the cloth over your hands and then push them backwards out of the way.
Then you can take your new brake pads, and you’re ready to install them and slide them back into the brake pad holder. But you need to take note of any writing and text on the brake pads to tell you which way faces forward and which side is the left and the right. That way, any little cutouts on the back of the brake pad will line up with a little grub screw on the pad holder to make sure everything is held securely in place. And go from there.
With the brake pads sat correctly in the holders, everything is ready to go back together. So that means you can take your small little grub screws, which are sat securely to one side, and then put them back in, one on each side. Take note not to cross-thread them and be delicate with them because remember, they’re only small, so you don’t have to go wrenching them up super tight. Now, if you have a torque wrench available to hand, doing these up means you need to use in the region of 2-3 newton meters. And if you apply some grease or a little dab of oil like I suggested in the first place, life is going to be easy when it comes to replacing your brake pads next time around.
At this stage, you can refit the wheels back into your bike, making sure that you sit them nice and centrally in the dropouts of the frame. That way, you won’t run into any confusion when setting up the brake pads on your bike. You can also start to adjust the barrel adjuster if you need to, which chances are you’ll probably have to, to make sure that you’ve got enough travel at the brake lever. You also need to make sure that the brake pads aren’t rubbing on the wheel when it’s turning and when you apply the brake. You can look closely and check that the brake pad is hitting the correct area on the wheel rim, nice and straight and square.
If the small adjuster doesn’t allow for enough movement, you might find you have to undo the cable pinch bolt located down here to change how much cable is pulled through on the brake until you have a feeling and amount of travel at the brake lever that you’re happy with.
Then at this stage, it’s like one final check over to make sure everything’s working how you want it to, and you’re ready to hit the road for more fun and adventures.
Anyway, I hope you found this article informative and helpful. If you have, please let me know in the comments section down below. THANK YOU.
